Step 1: Enable Unknown Sources
Since Towelroot is not available on the Google Play Store, you'll need to ready your device for the installation of sideloaded apps. From Settings, under the System section, tap Security. In here, just tick the box next to Unknown Sources and press OK.


Step 2: Download Towelroot
Hotz has made his root exploit app available to all through its website. Just open your Galaxy's web browser and navigate to towelroot.com. From here, tap the lambda symbol to download the installer file.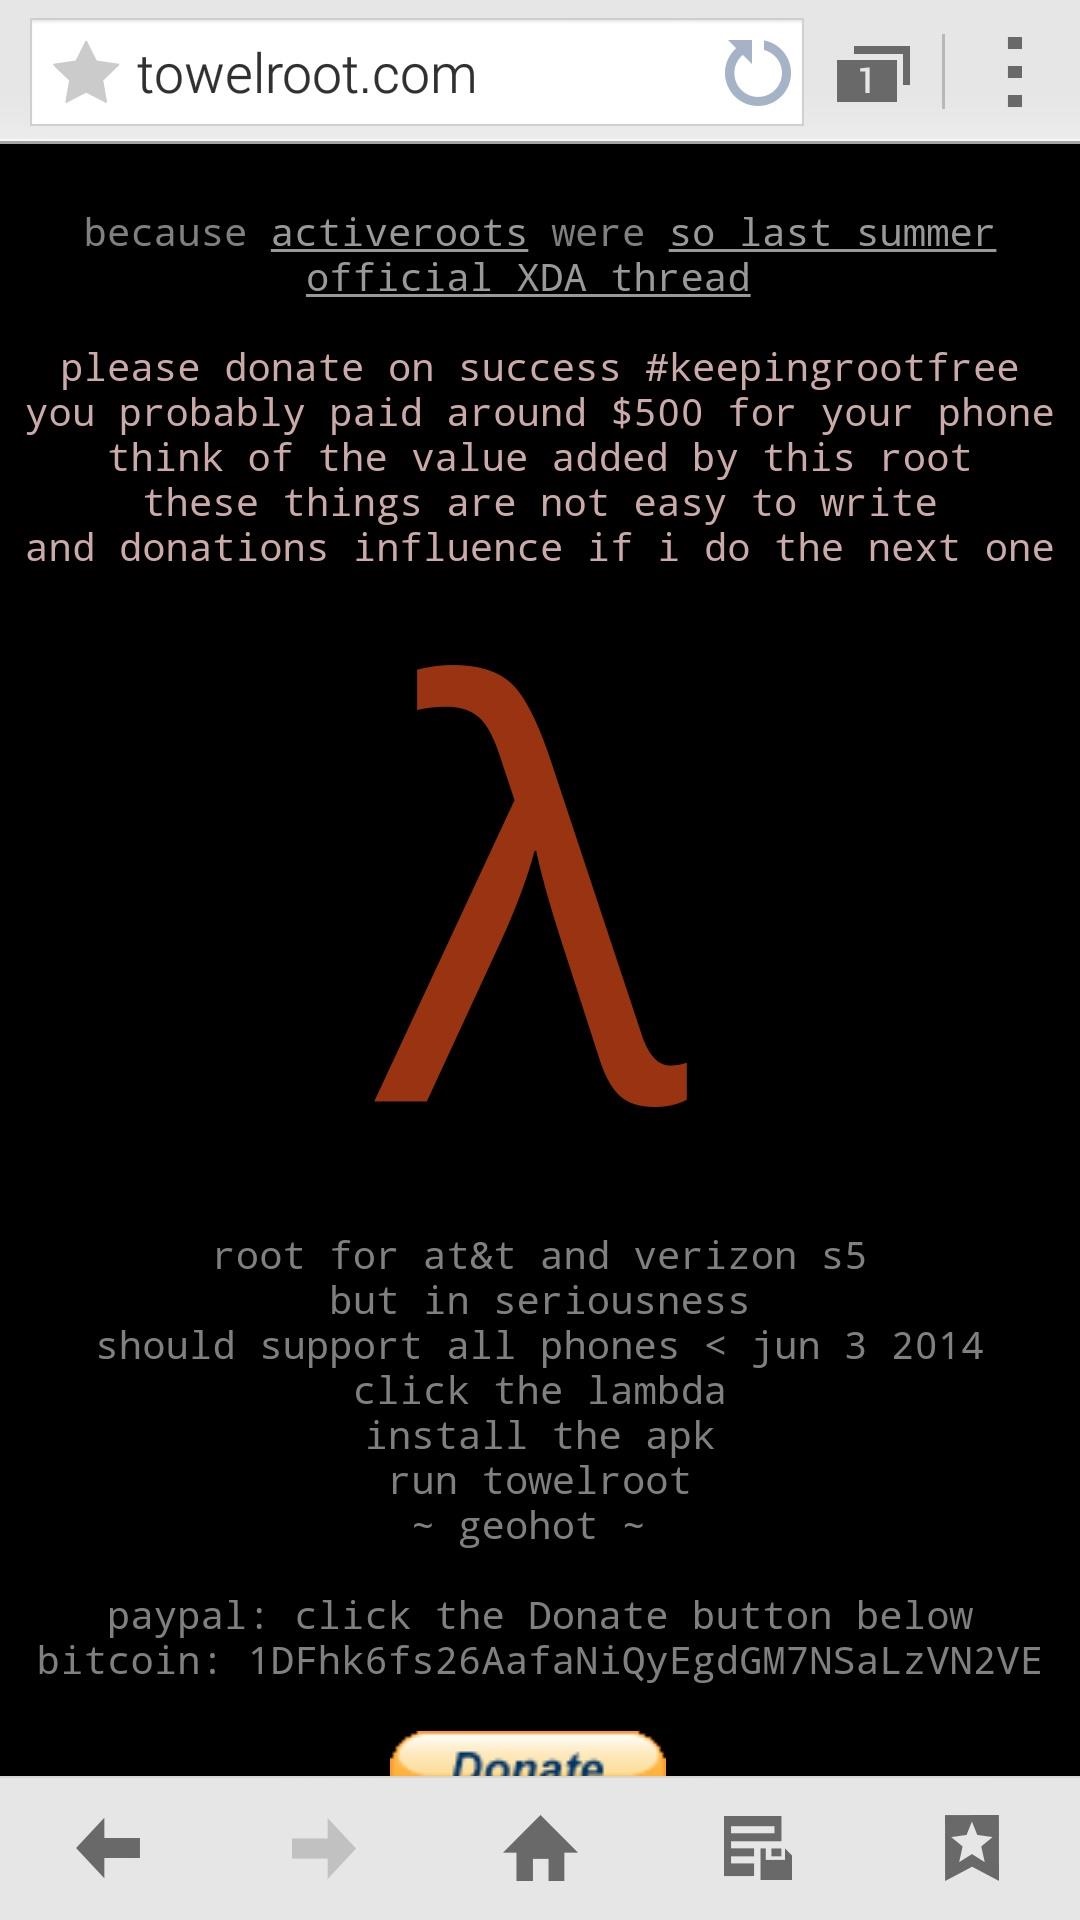
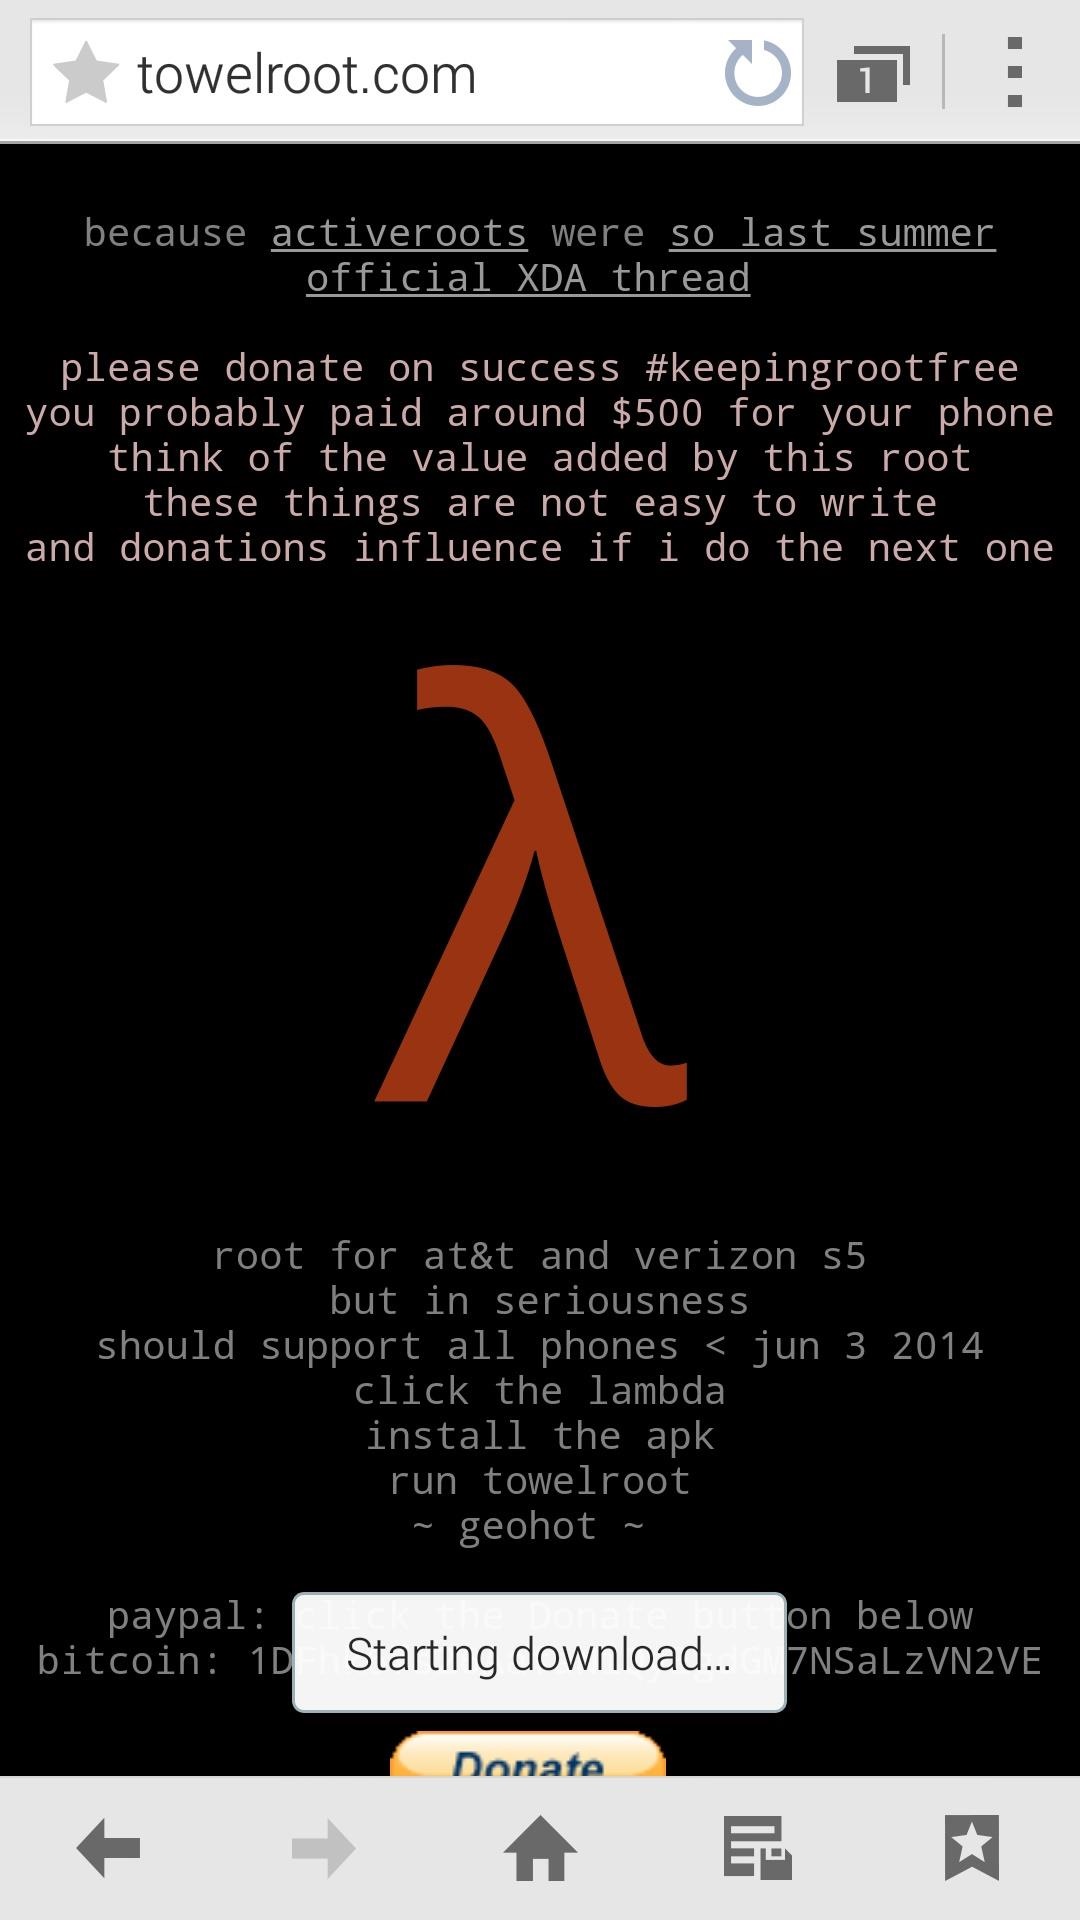
When the download is finished, tap the notification to initiate the install process. From here, hit Install, and when finished, tap Open.


Step 3: Root Your Device
When you open Towelroot, you'll notice that there's not very much to the app's UI. Just a single button that says make it ra1n.

Just tap this button and you're device will be rooted. That's it. Seriously.
Give the app about 15 seconds to perform Pinkie Pie's exploit and copy over the necessary files, and your phone will automatically reboot. When it comes back up, you'll be rooted. If you know you're way around an Android device, then all of the steps above shouldn't take longer than 20 seconds, though it will vary from device to device.
Step 4: Verify the Root Was Successful (Optional)
If you'd like to test out your new root privileges, you can download Root Checker from Google Play. With the app open, tap on Verify Root to confirm that the procedure went down without a hitch.
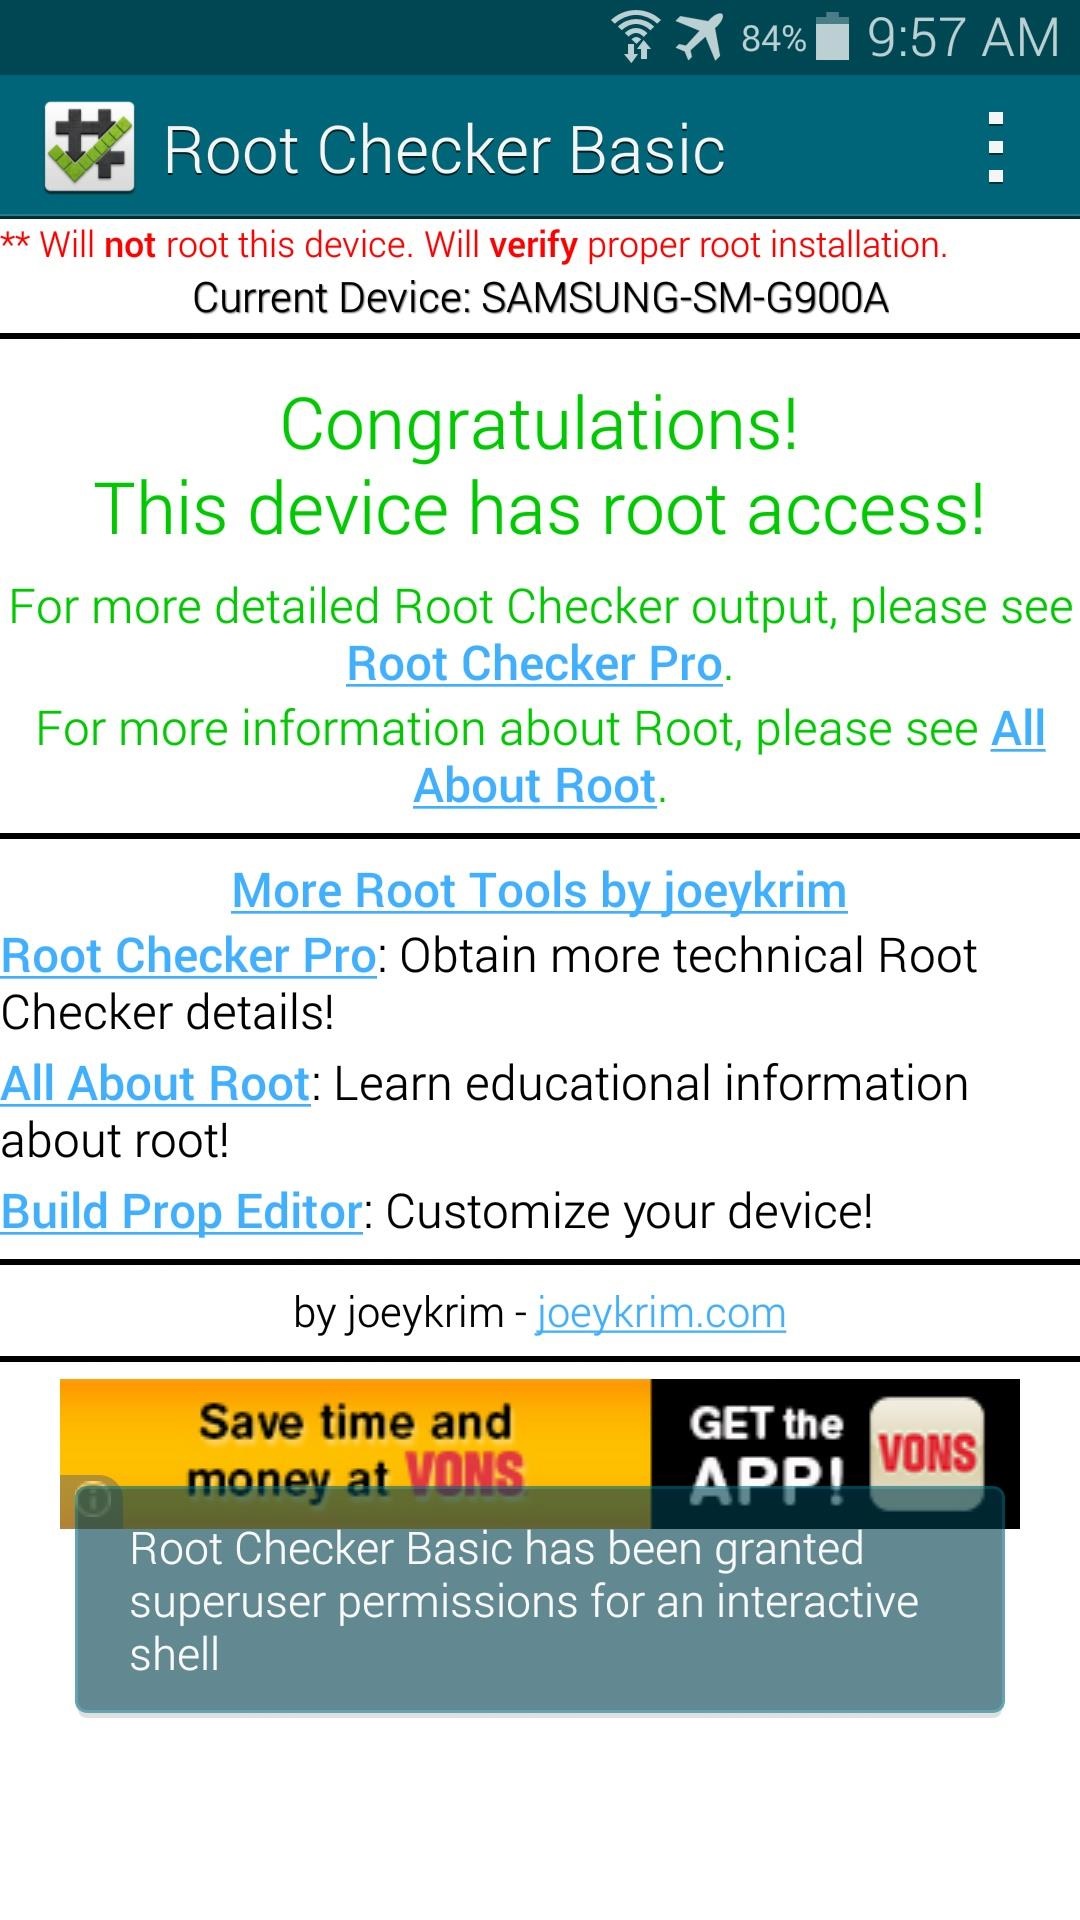
When you're doing that, though, you may notice that you weren't asked to grant Root Checker superuser permissions. This is because Towelroot doesn't install a root management app—it just gives root to any app that asks for it.
This is a serious security risk, because malware apps can do some significant damage to your phone with root permissions. An app that covertly installed itself on your phone could automatically receive root privileges without you ever knowing.
Step 5: Install a Root Management App (Recommended)
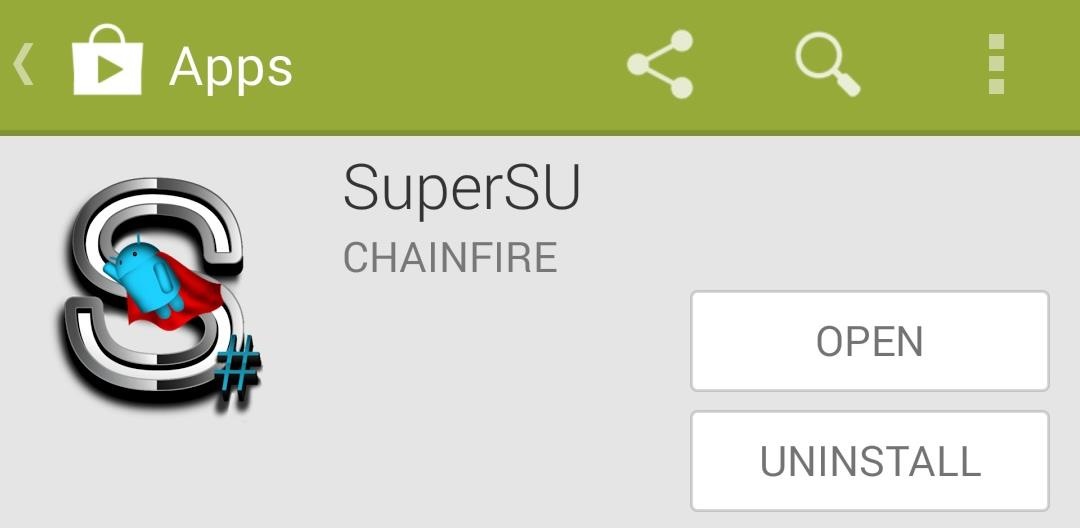
But Chainfire has updated the app to include support for the G900A and G900V models of the Galaxy S5, and I've uploaded that version for you to grab.
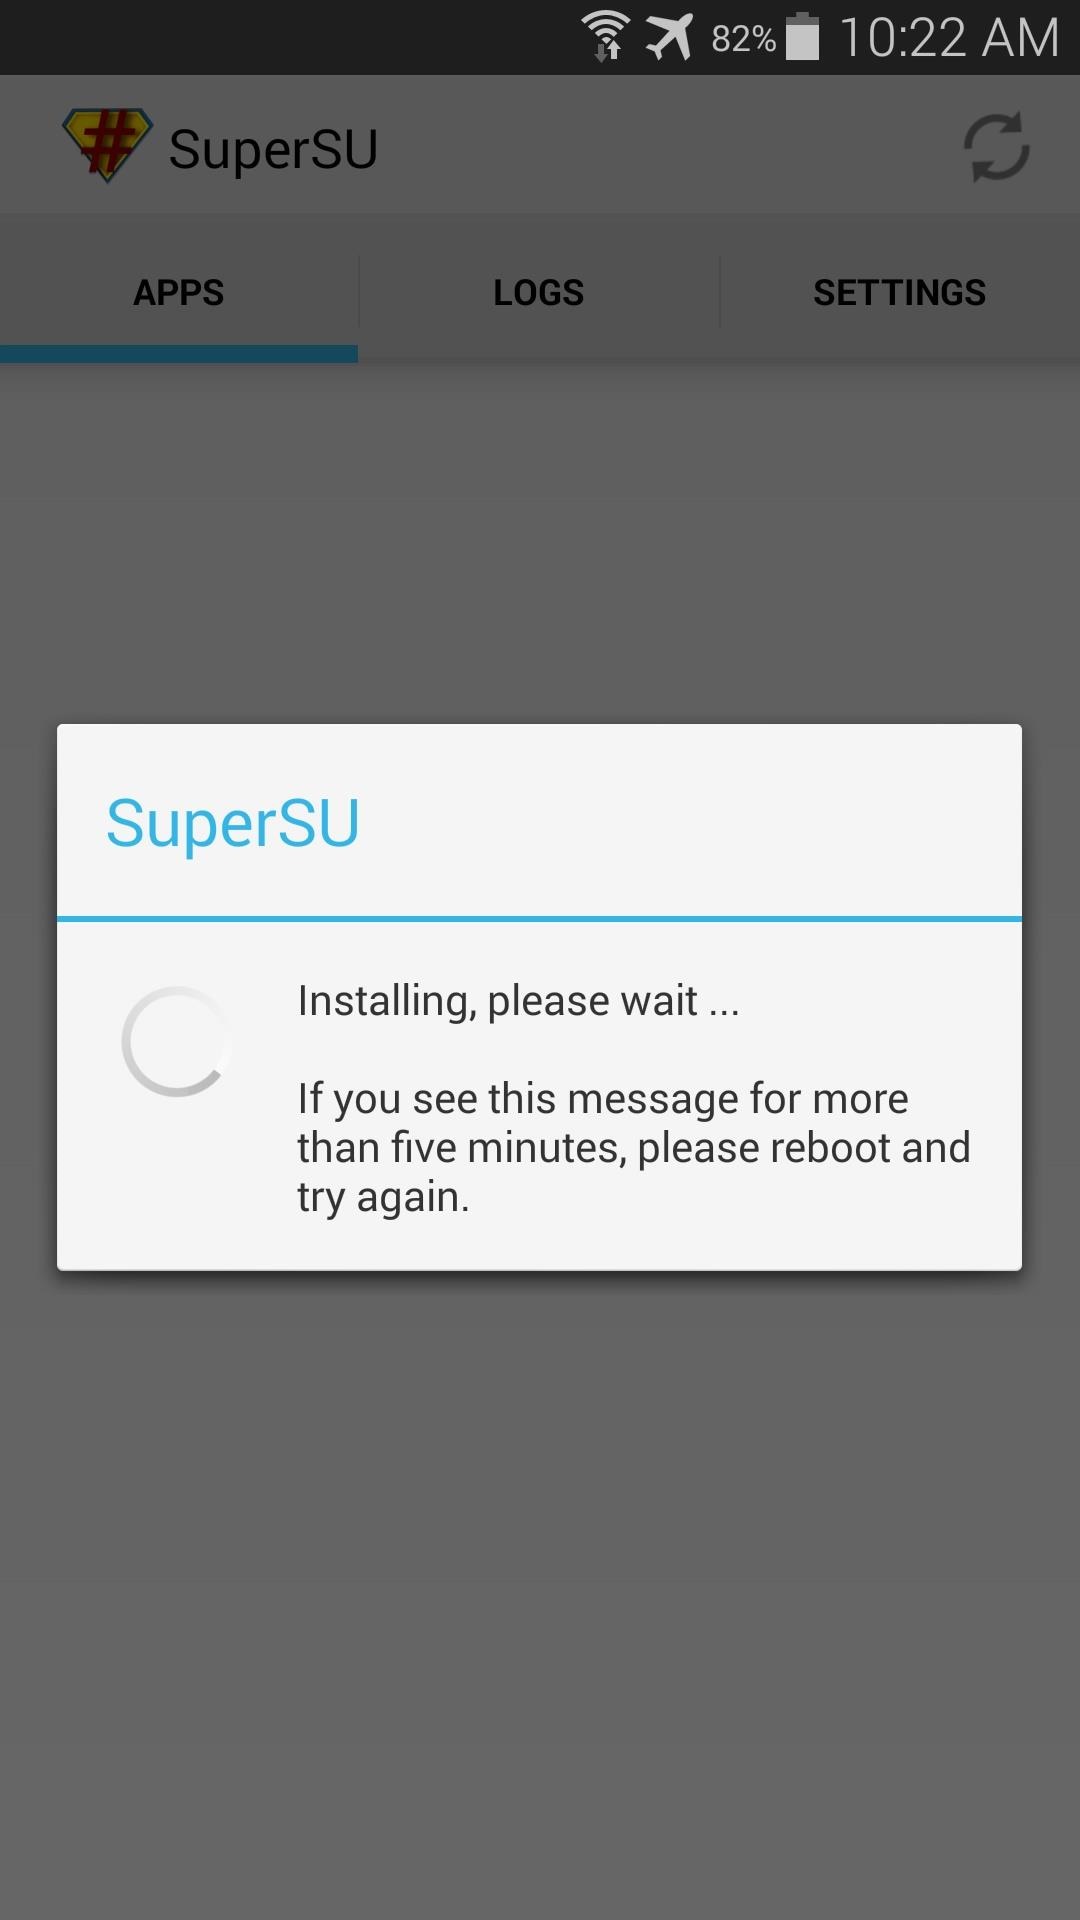
Using your Galaxy S5, tap this link to download the updated SuperSU. When the download is finished, tap the notification to launch the installer, then press Install and Open.


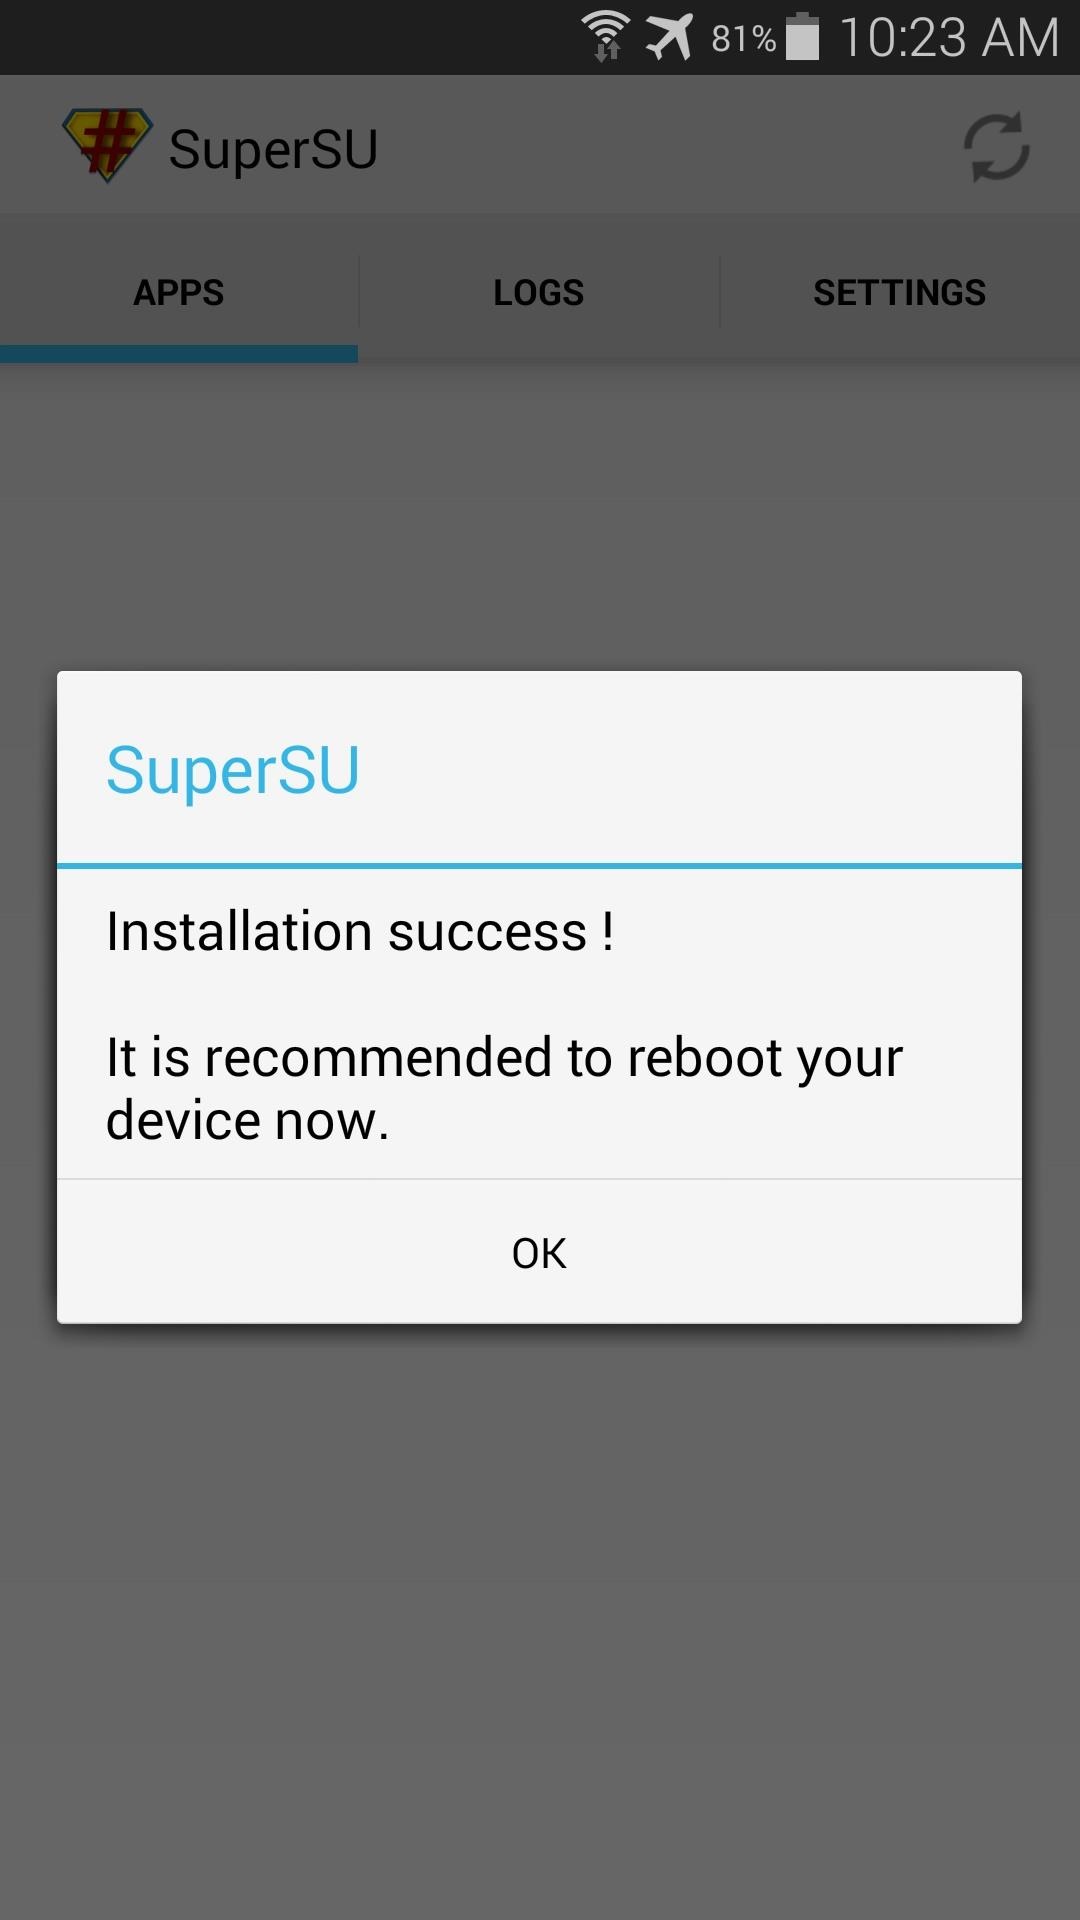
Step 6: Update the Superuser Binaries (Recommended)
Step 7: Disable Security Policy Updates (AT&T Version Only)
As some users have noted, once rooted, AT&T's Security Policy Update service might ask you to update your Security Policies. This nagging notification apparently has the potential to unroot your phone, and we don't want that.To prevent any issues with Security Policy Update, you'll just need to disable the app. Go ahead and grab one of the many free root-enabled file browsers from the Play Store to get the process underway. I'll be using Sliding Explorer to demonstrate, which is available on Google Play here.
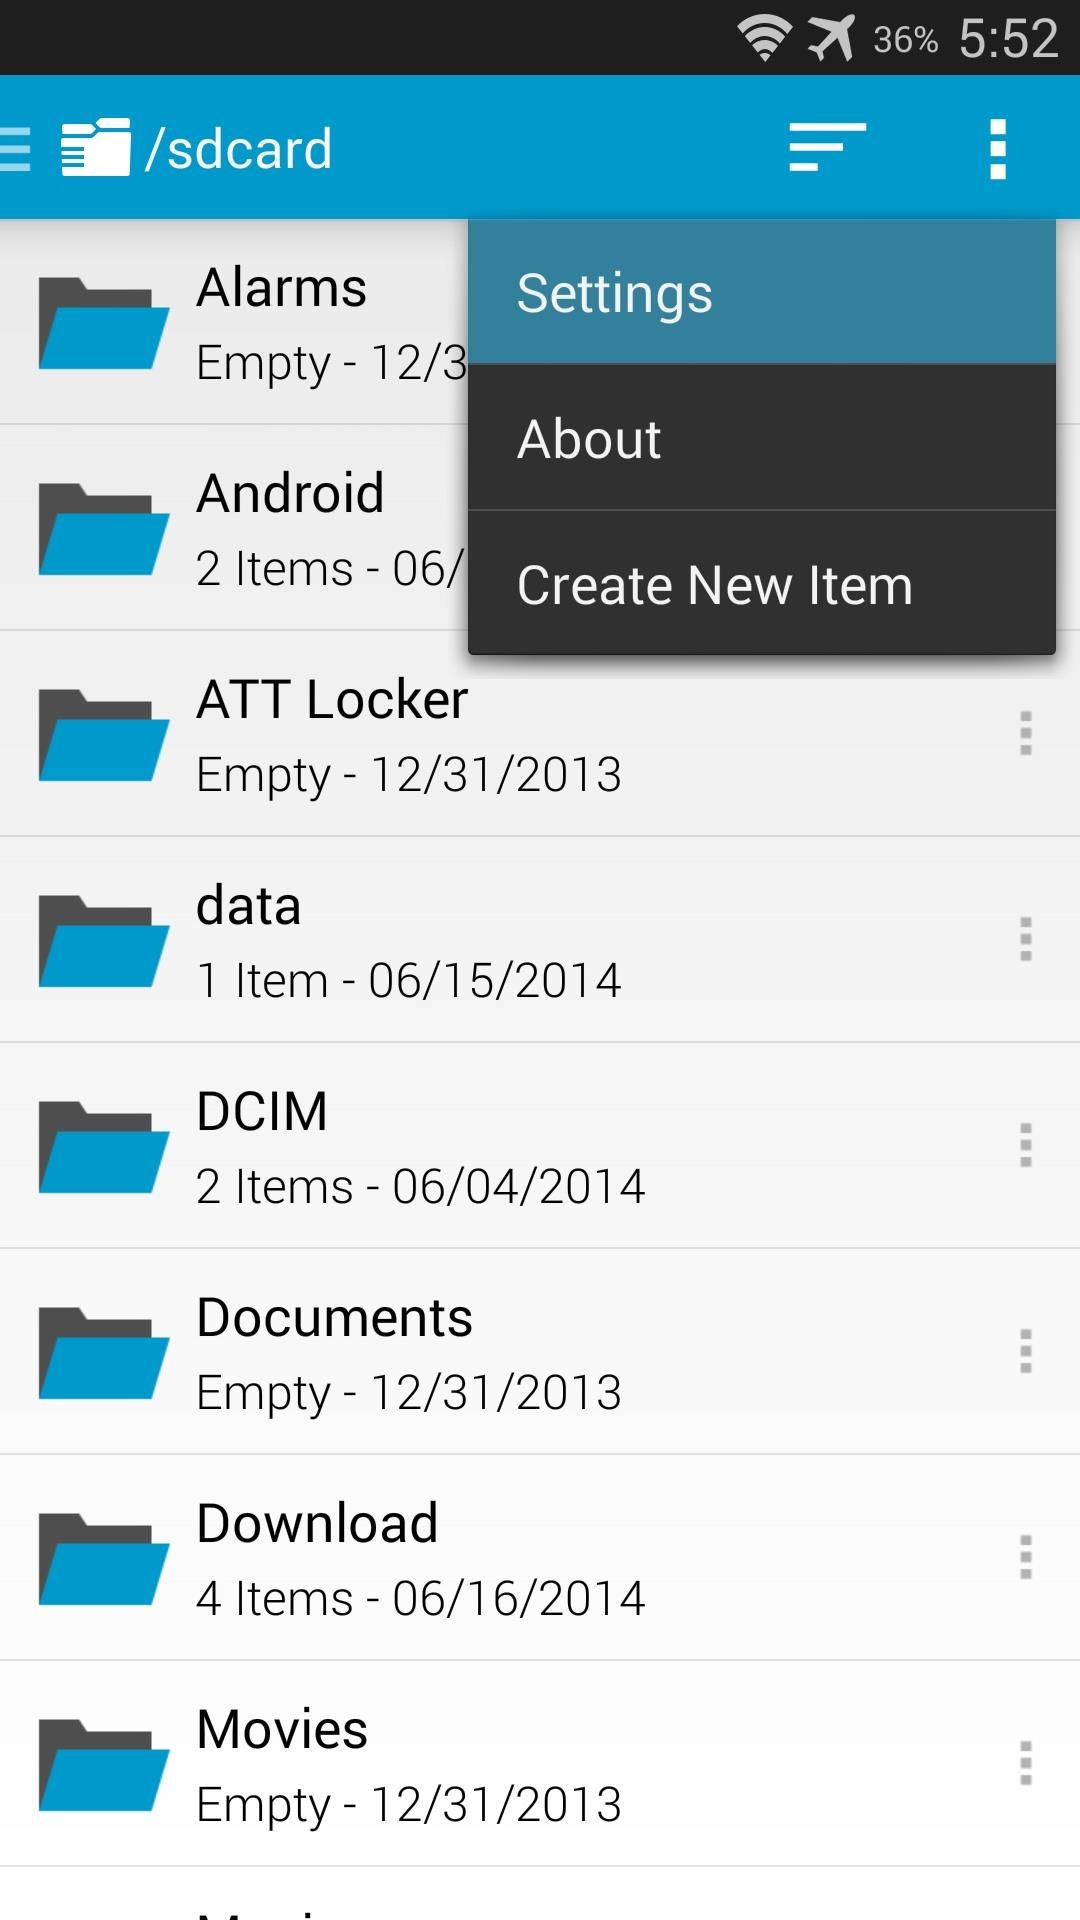
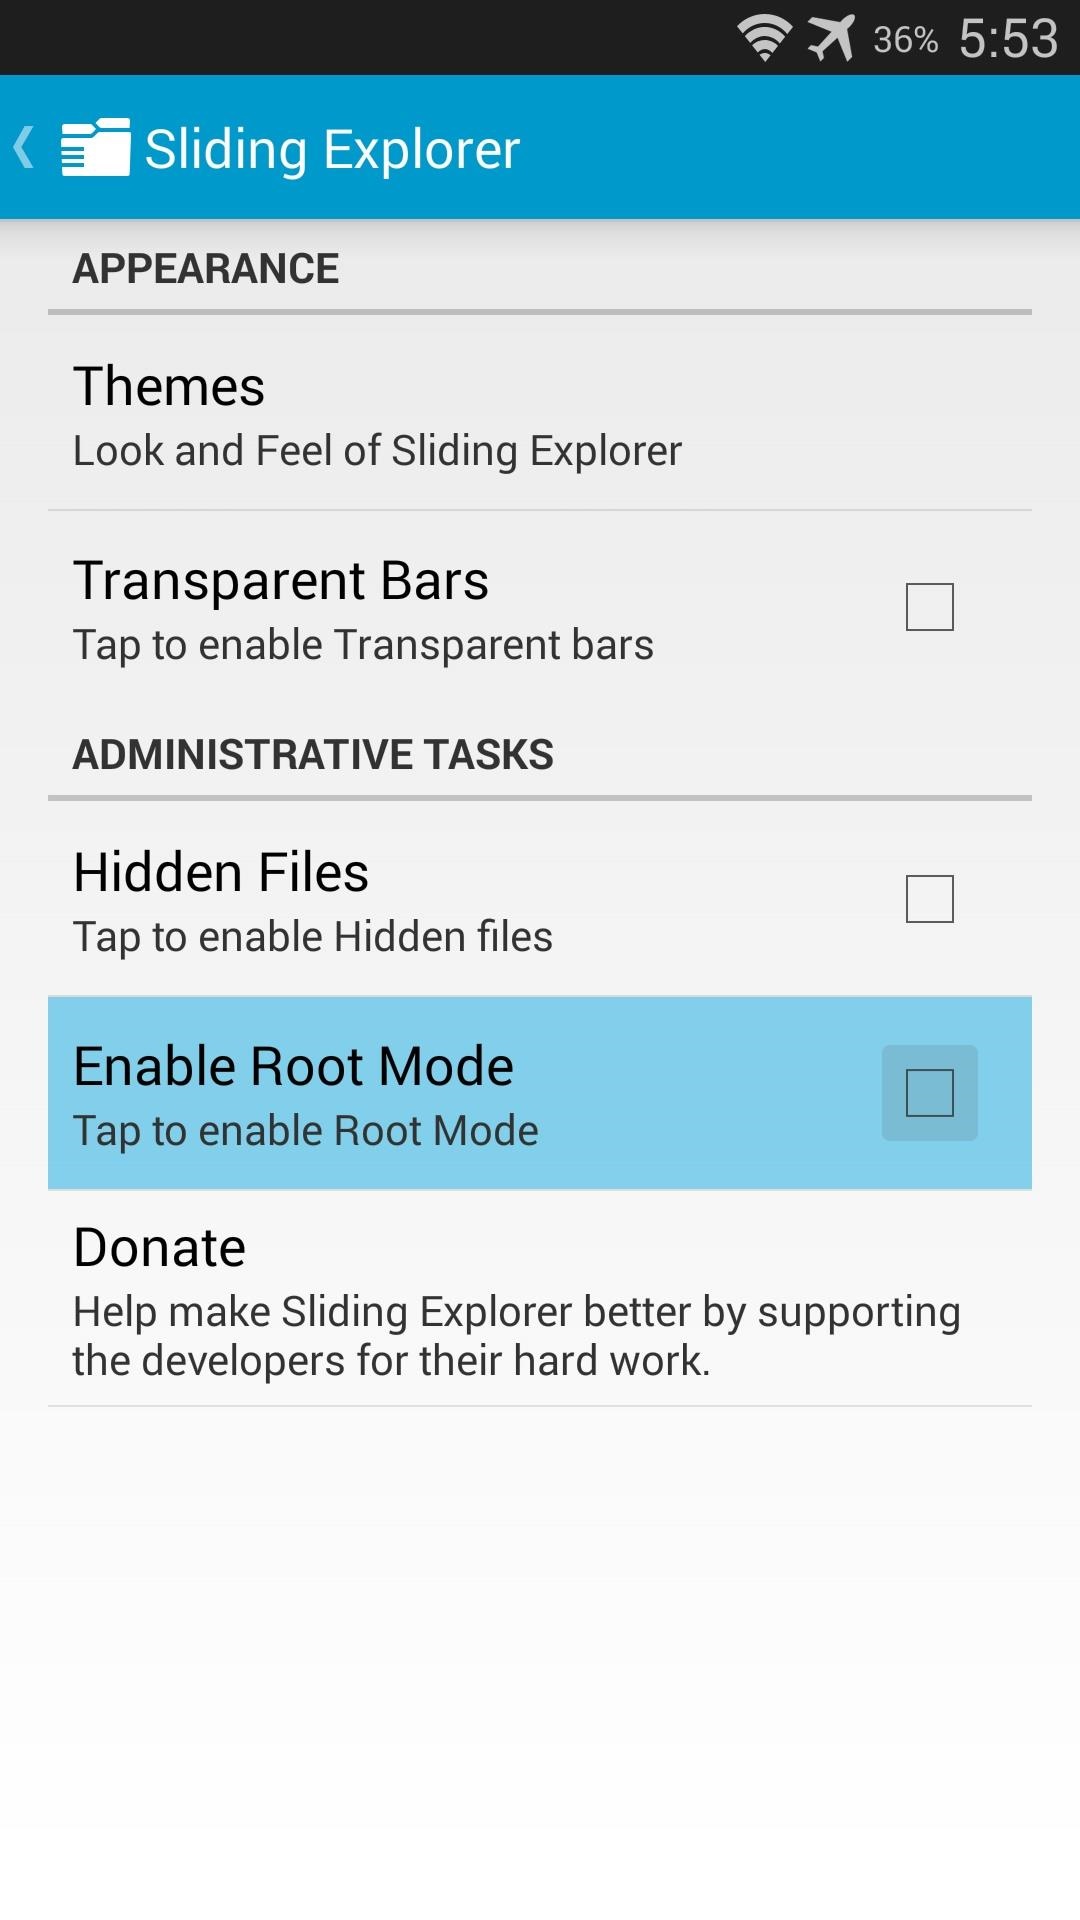
First, be sure to enable root mode on your file browser. With Sliding Explorer, hit the 3-dot menu button and tap Settings. From here, just tick the box next to Enable Root Mode.
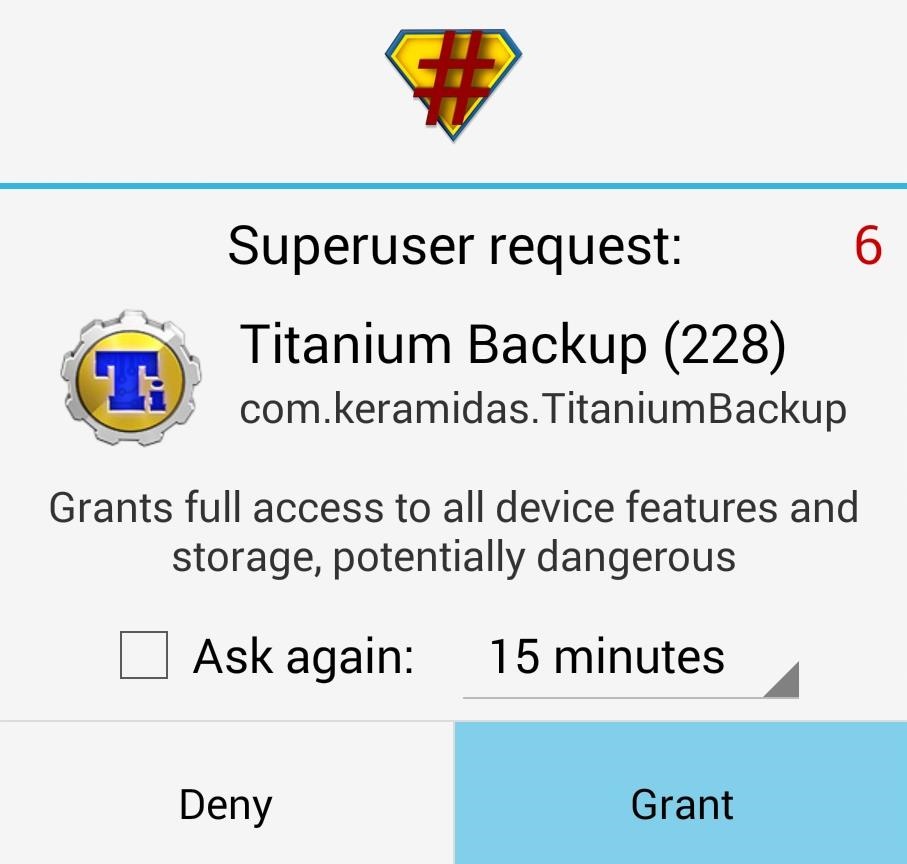
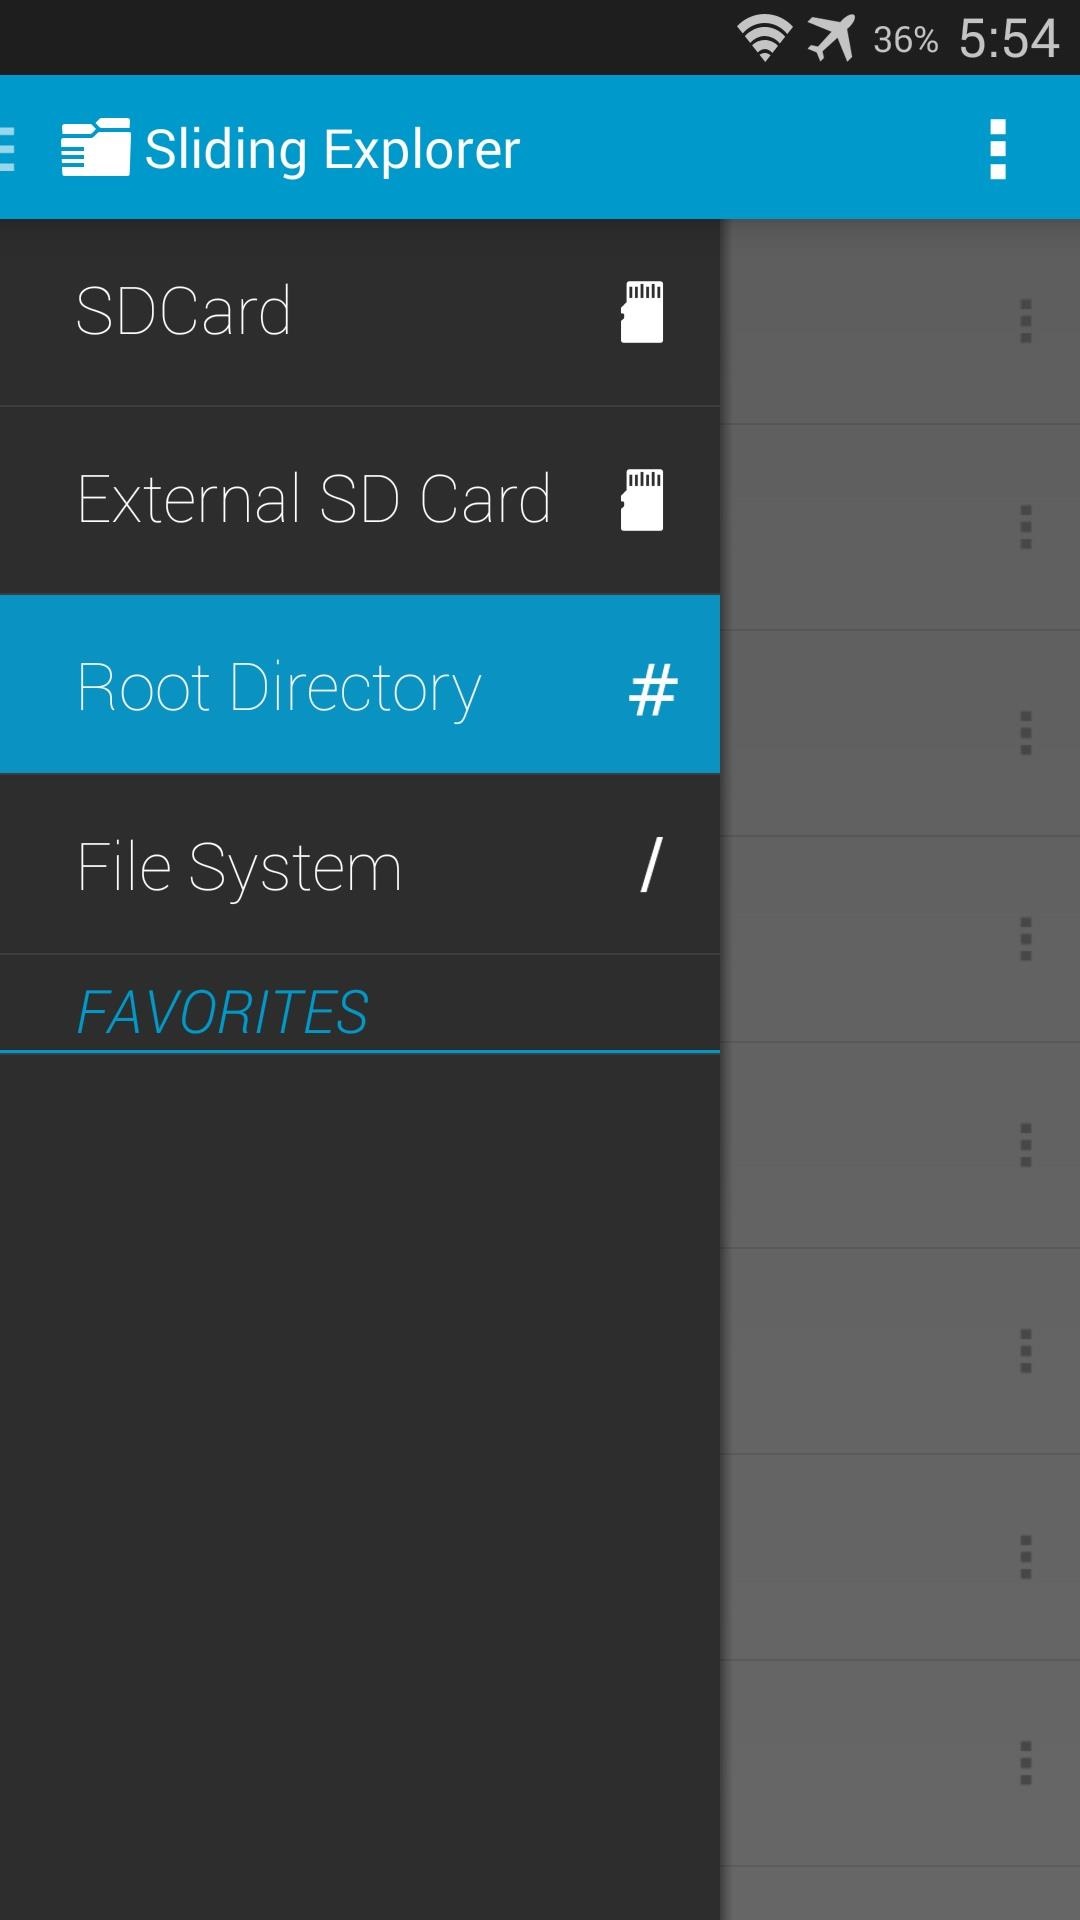
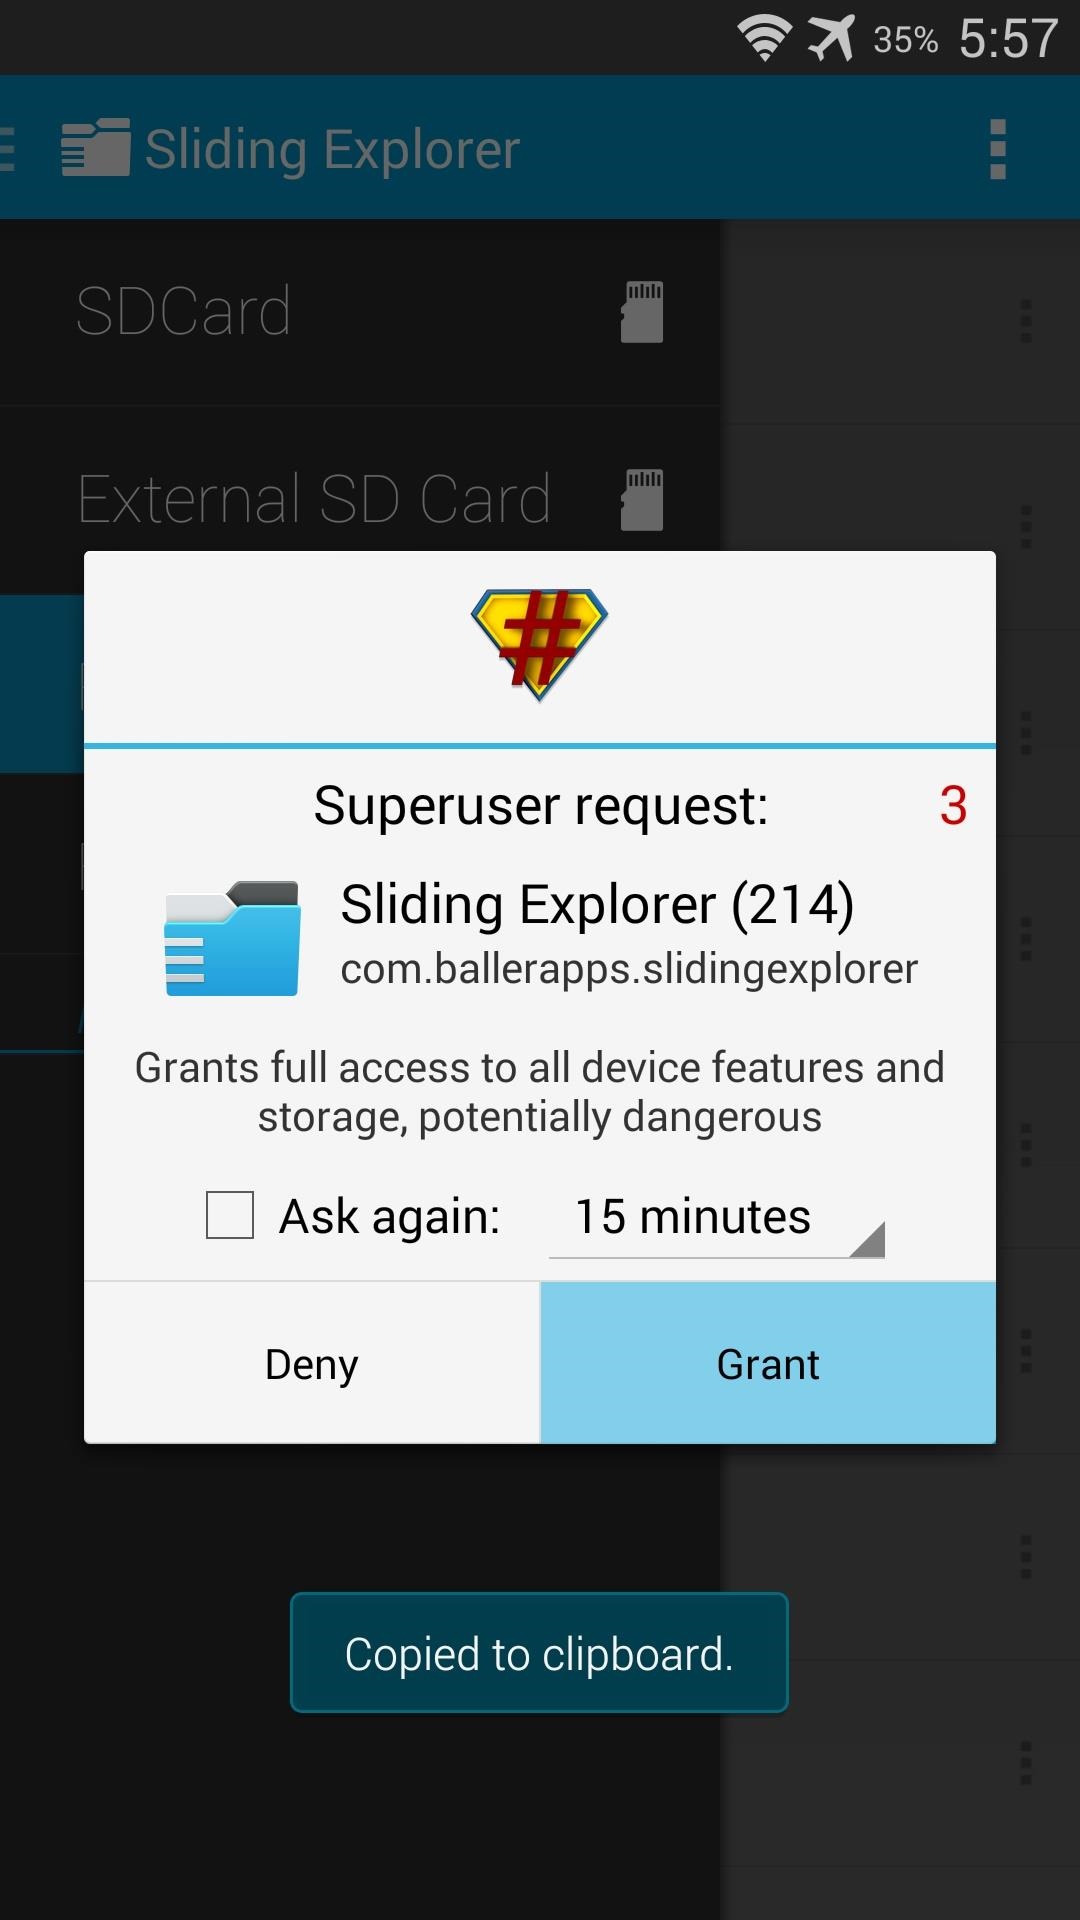
Next, use the navigation menu on the left to select Root Directory. SuperSU will pop up asking you to give Sliding Explorer root permission. Tap Grant on this prompt.
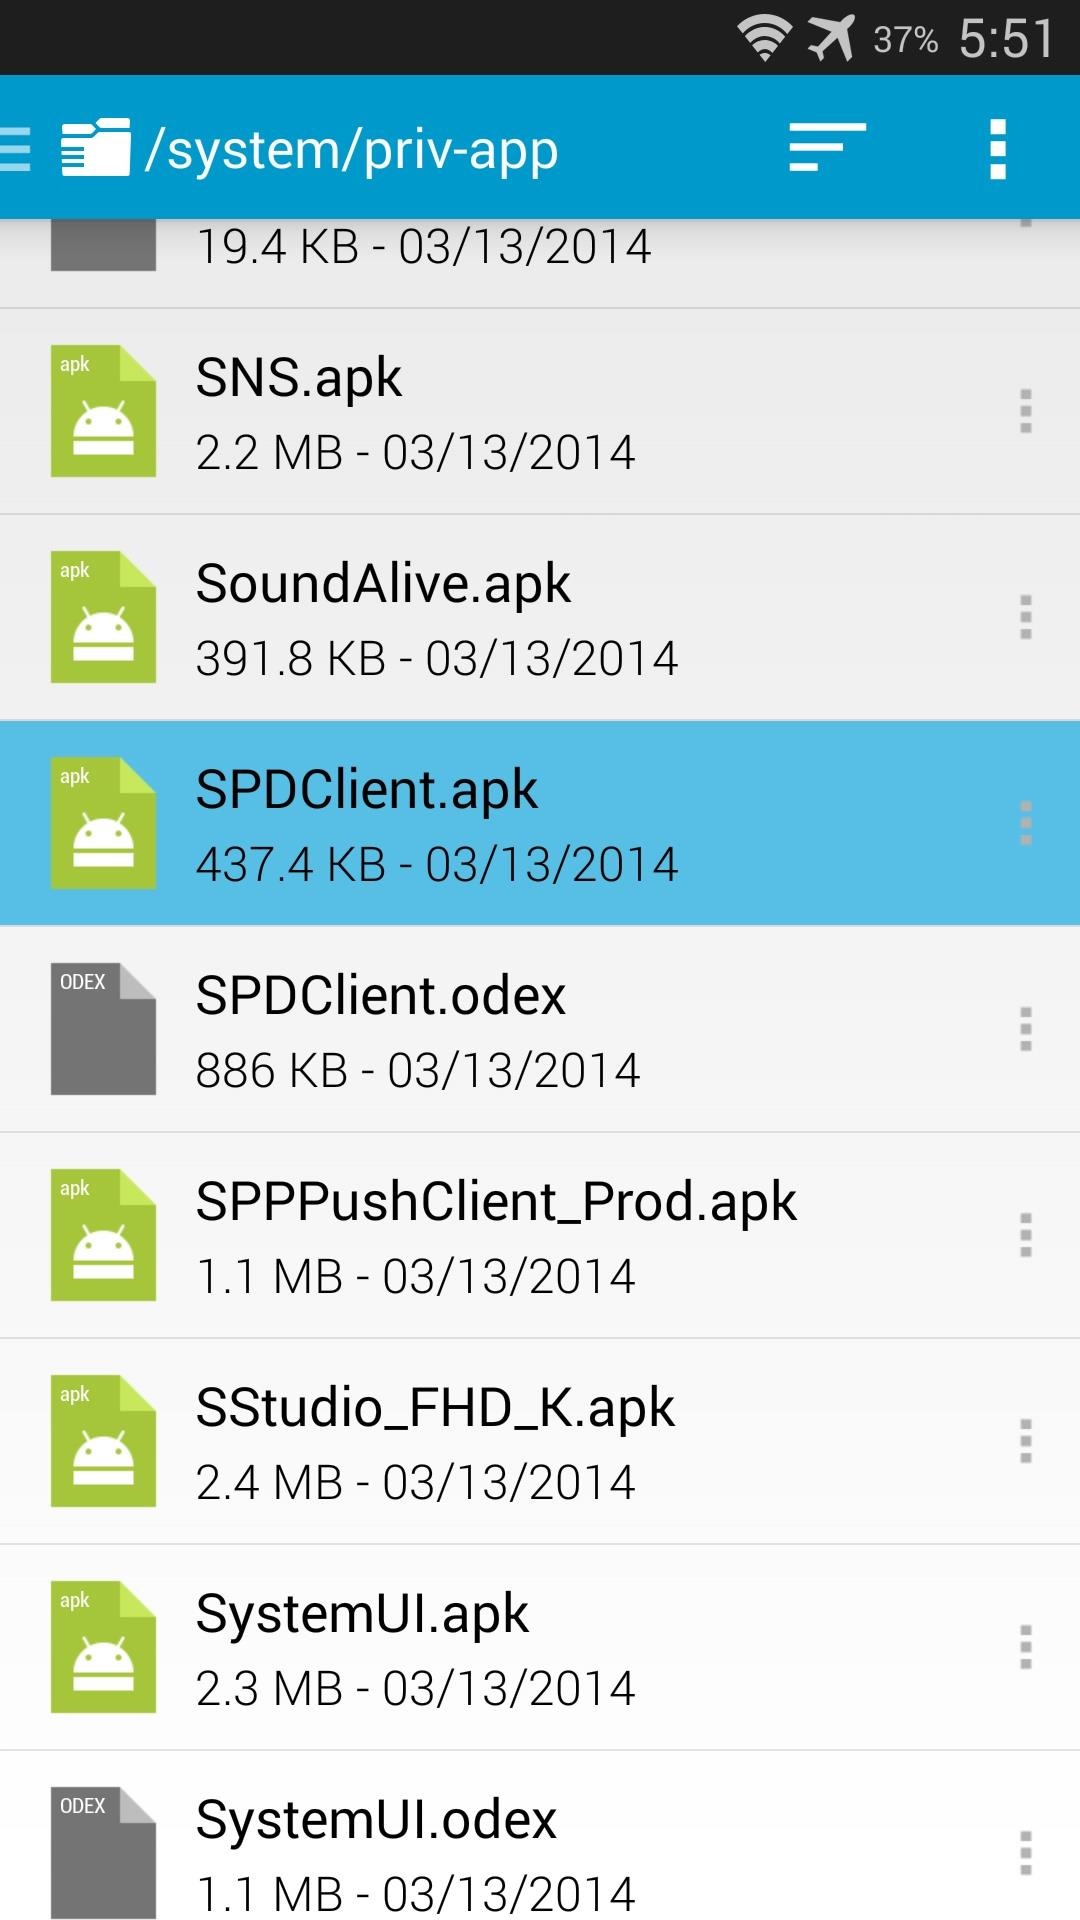
Next, navigate to the /system/priv-app folder and locate the SPDClient.apk file.
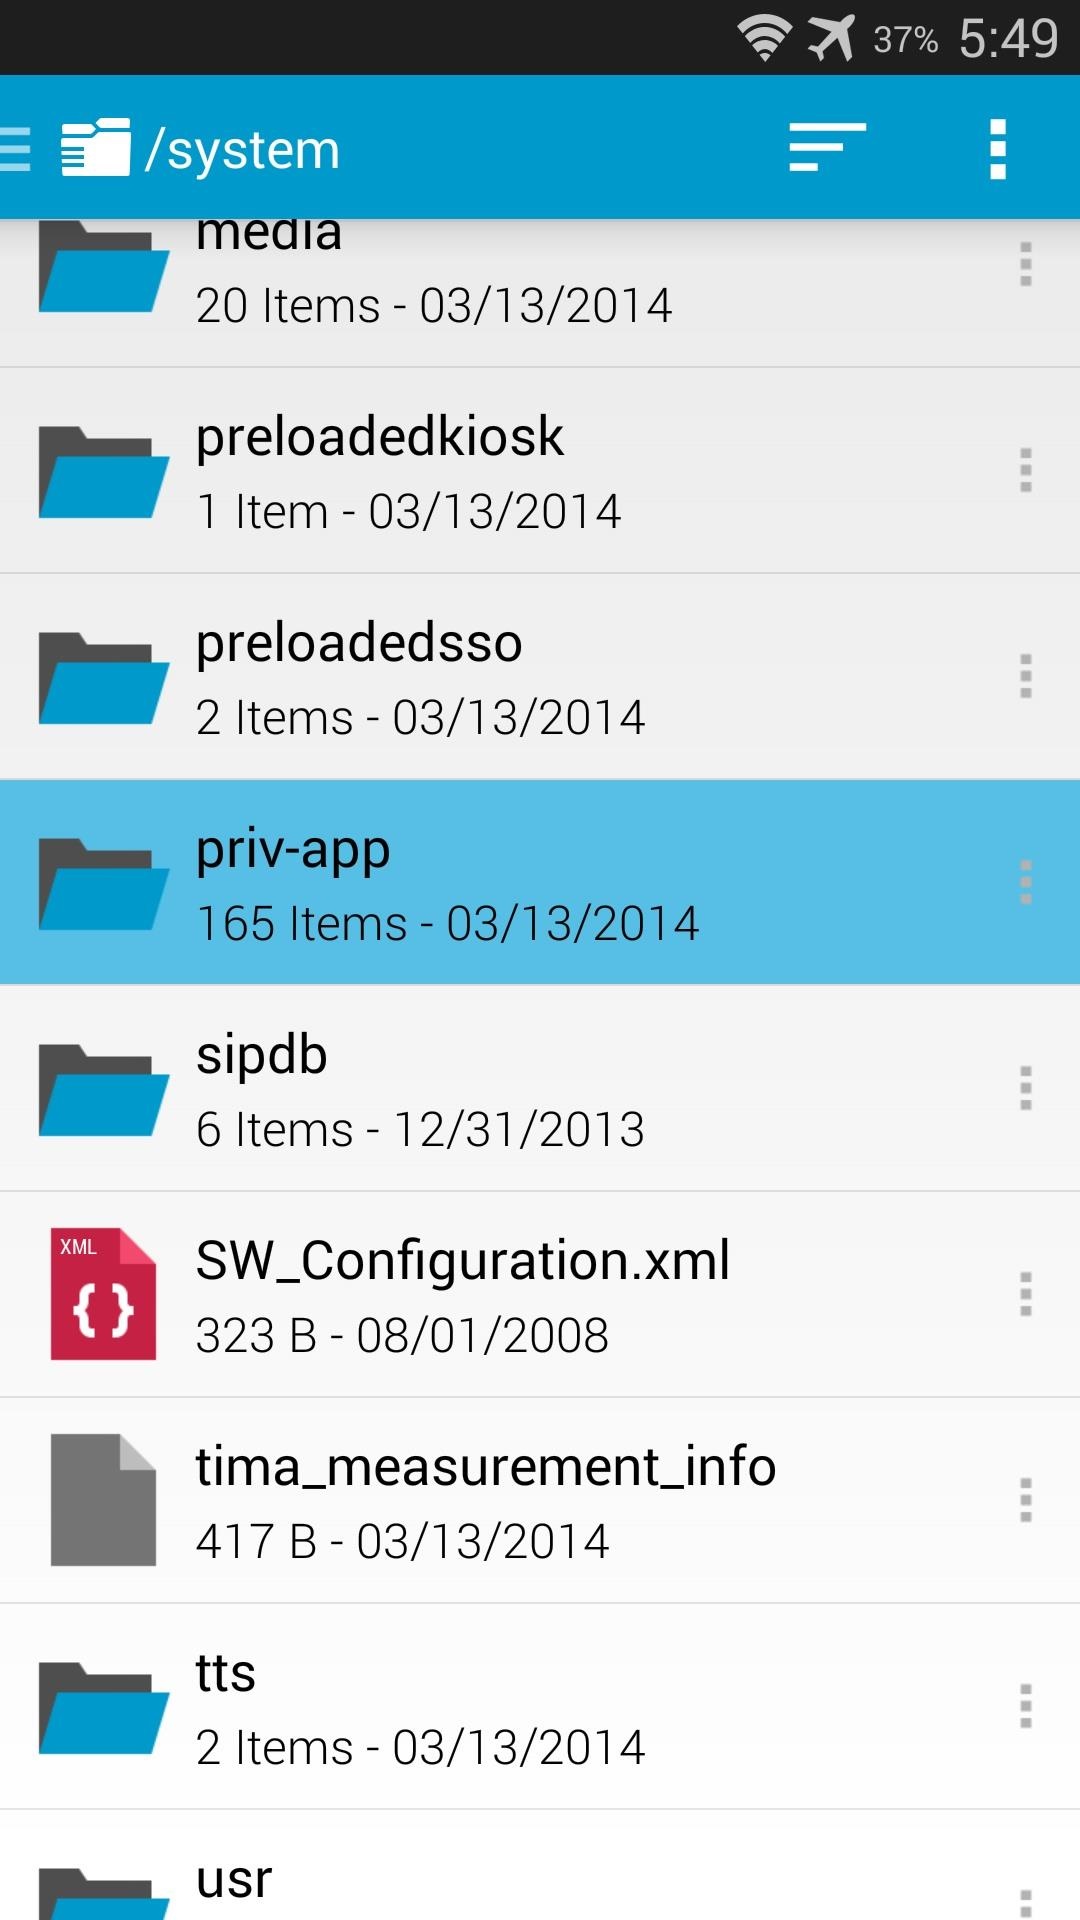
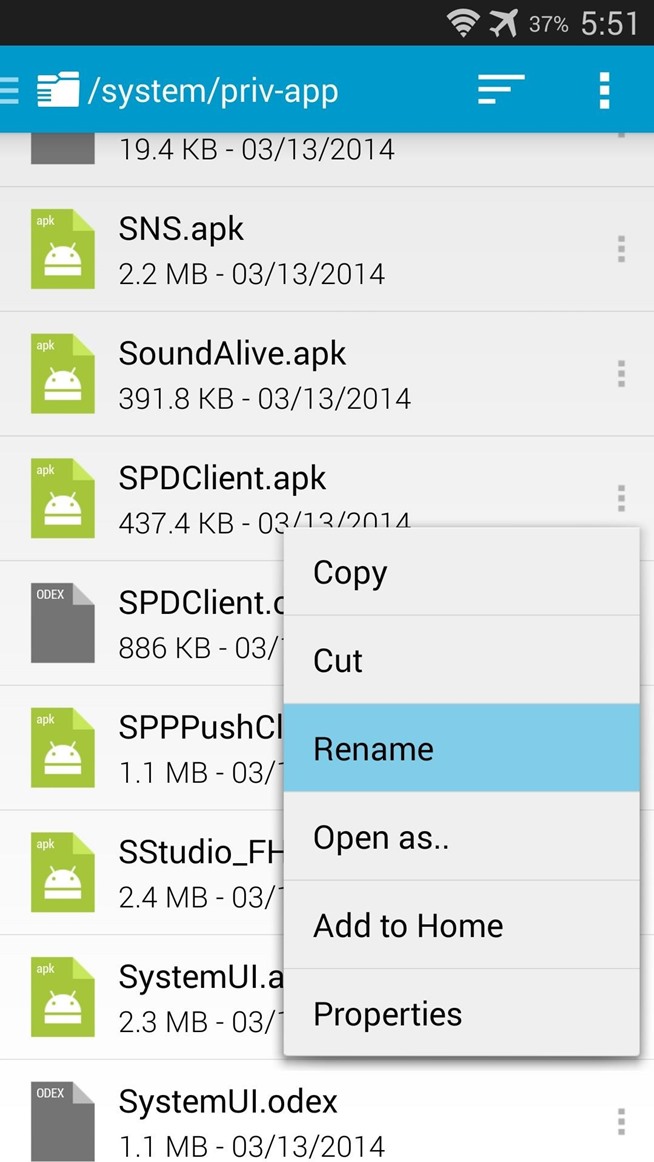
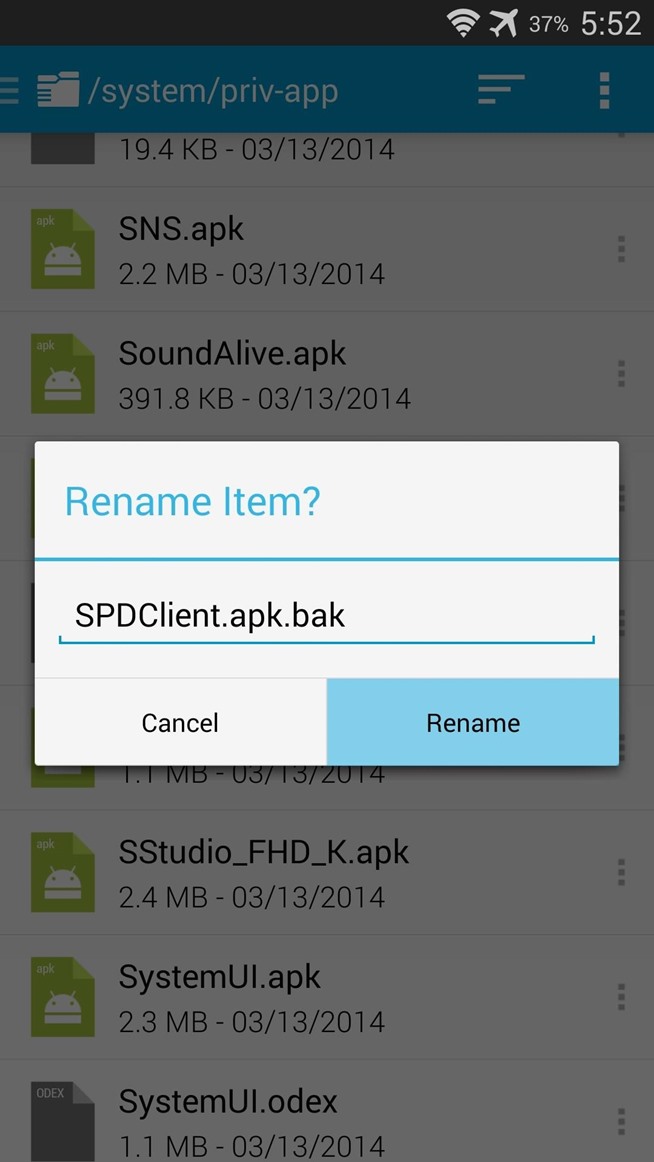
Tap the 3-dot menu button directly to the right of this file and select Rename. From here, simply append a .bak to the end of the filename and press Rename. Afterwards, just reboot your phone and you'll no longer have to worry about AT&T's Security Policy Update service.
And that's about all there is to it. Your Galaxy S5 should now be rooted, and it can handle root requests in a secure manner.
This is by far the easiest root procedure that I've ever performed. It literally took me less than a minute to get root, and just a couple more to install SuperSU. How long did it take you? Let us know in the comments section below.
No comments:
Post a Comment